Ask me what my favorite food is and I’ll interrupt with “ice cream!” before you’ve finished the question. When I was given an ice cream maker in 2017, I thought my life was going to be a non-stop joy ride from that moment forward. TBH, I barely looked at it for the next two years. The ice cream aisle and I are friends; why would I ruin that relationship? It was only when I was developing a lemon curd filling for Cauldron Cakes that inspiration really struck.
This recipe was born out of two no-churn ice cream recipes. The first I saw during my time at America’s Test Kitchen when the talented team behind Cook’s Country was performing the oh-so-difficult task of narrowing countless options to a mere 12 takes on a flawless no-churn method. They didn’t have to search far for willing taste testers.
The second was in the Savory Spice Test Kitchen, where Michael Kimball blew my mind by developing vanilla ice cream using a buttermilk base. His recipe produces an ice cream that not only lets shy vanilla flavors shine but also has just enough tanginess to lighten and brighten. It’s an ice cream that feels like a fitting afternoon treat, not just a decadent evening splurge.
While I was inspired by these outstanding no-churn ice creams, I want to let you in on something: I prefer churning when I go through the homemade ice cream effort. It takes a little more attention and an extra appliance (ugh), but it offers a lighter, smoother texture as opposed to the denser and firmer results of no-churn. But, the differences are slight with this recipe, so do whatever makes you happy! Ice cream should only spark joy.

Regardless of which freezing method you choose, there are a few key steps you can take to ensure you’re getting the most from your base. The primary goal when making ice cream at home is to reduce the formation of ice crystals. Too much crystalline formation takes what could be lusciously scoopable ice cream and turns it into a solid, spoon-bending hunk of disappointment—and I’m speaking from experience here.
This recipe provides some insurance: both alcohol (here, in the form of bourbon or whiskey) and liquid sugar (in the form of corn syrup) help to discourage ice crystals. Incorporating air by whipping the cream gives you a head start against solid hunk-dom, but if you really want to ensure scoop-ability, remember to chill out.
Everything—from your ingredients, to the prepared ice cream base, to the final container it goes into—should be as cold as possible. A chilled cream base means less time freezing or churning, which means less time for ice crystals to form in the first place. When your ice cream is perfectly frozen and soft, transfer it to a chilled storage container so it doesn’t melt and refreeze all willy-nilly around the edges. Sound easy enough? Good! Let’s get started:
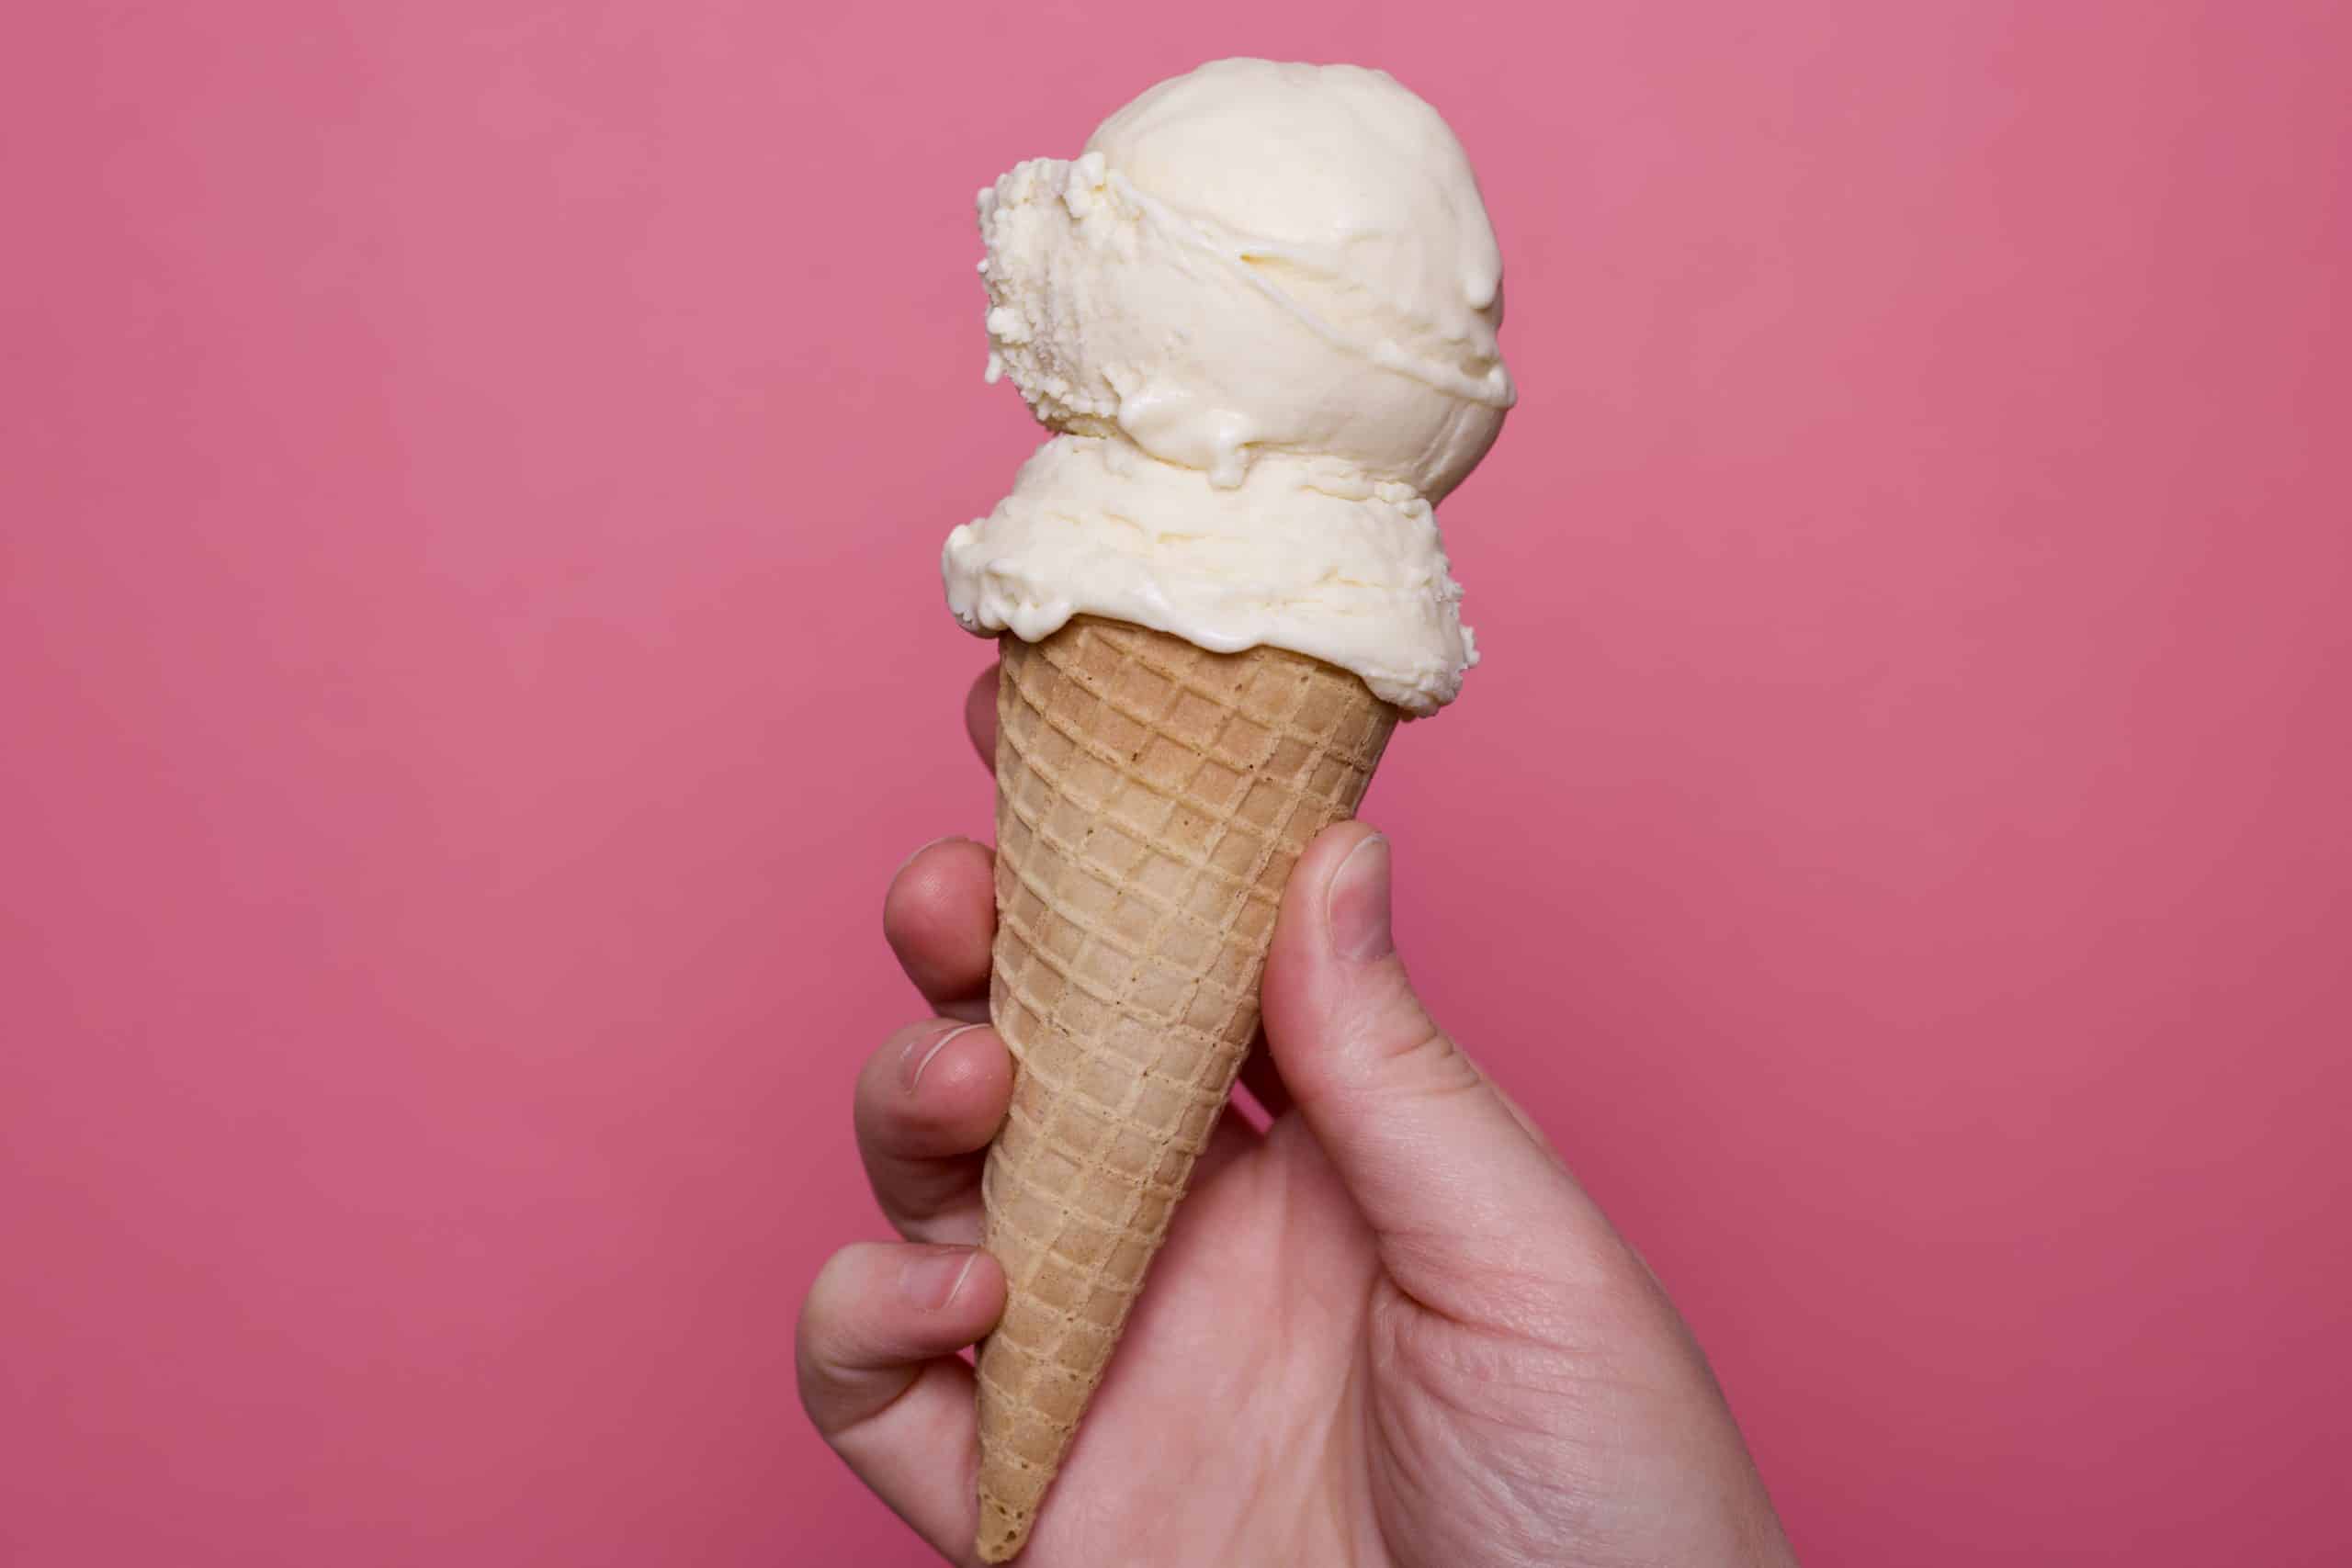
Lemon Curd Buttermilk Ice Cream Recipe
Lemon Curd
Recipe Inspiration: Pierre Hermé’s Lemon Cream, as described by Dorie Greenspan on Serious Eats
Makes about 2 1/2 cups lemon curd
Ingredients
- 1 cup granulated sugar
- 2/3 cup fresh lemon juice (from about 5 lemons)
- 2 Tbsp. lemon zest (from about 2 lemons)
- 4 eggs
- 1/2 tsp. kosher salt
- 12 Tbsp. unsalted butter, cut into pats
Preparation
- Combine sugar, lemon juice and zest, eggs, and salt in a medium bowl. Whisk thoroughly until combined.
- In a medium pot over medium-high heat, bring about 2 inches of water to a simmer. Once simmering, reduce heat to low and set the lemon mixture in its bowl on top of the pot (the bottom of the bowl should not touch the simmering water).
- Whisk constantly until mixture is thickened and coats the back of a spoon. It should reach 180°F on a thermometer. This could take up to 25 minutes.
- Remove from heat. Whisk in butter, a few pats at a time. Let each addition melt and incorporate before adding another.
- Filter through a fine-mesh sieve into a clean bowl. Press a piece of plastic wrap directly onto the surface of the curd. Let cool to room temperature, then chill in the refrigerator until cold, at least 2 hours. Curd can be made and kept in the refrigerator for up to a week.
Lemon Curd Buttermilk Ice Cream
Recipe Inspirations: Michael Kimball’s No-Churn Buttermilk Vanilla Ice Cream for Savory Spice and Morgan Bolling’s No-Churn Ice Cream for Cook’s Country
Makes about 1 1/2 pints ice cream
Ingredients
- 2 cups lemon curd
- 1/2 cup buttermilk
- 2 Tbsp. light corn syrup
- 2 Tbsp. bourbon or whiskey (optional)
- 1 Tbsp. vanilla extract
- ½ tsp. Kosher salt
- 2 cups heavy whipping cream
- Remaining lemon curd, sprinkles, and/or strawberries for serving
Preparation
- In a medium bowl, combine lemon curd, buttermilk, corn syrup, bourbon/whiskey (if using), vanilla extract, and salt. Stir until combined and set aside.
- In a blender, whip cream until stiff peaks form, about 45 seconds to 1 minute. Scrape with a rubber spatula as needed, every 15 seconds or so.
- Add lemon curd mixture to blender and blend until combined, about 30 seconds.
For traditional churning:
- Gently scoop mixture into a lidded container and chill until very cold, about 1 hour.
- Transfer ice cream base to ice cream machine. Churn according to your machine’s specifications, until ice cream is the consistency of thick soft-serve. In my setup, this took about 25 minutes.
- While ice cream churns, chill a lidded quart-sized container in the freezer. This will prevent any of the newly churned cream from melting around the edges when it comes out of the machine.
- Scoop ice cream into chilled container. Enjoy immediately as “soft-serve” or freeze until firm, at least 1 hour, before scooping into bowls or cones.
- Serve with leftover lemon curd, sprinkles, or sliced strawberries, if desired.
For no-churn method:
- Place a loaf pan or medium baking dish in the freezer to chill, at least 15 minutes. If you’ve already created the ice cream base, keep it in the refrigerator while the dish gets cold.
- Pour ice cream base into cold dish. Freeze until firm throughout, about 3 to 6 hours, depending on the depth of the dish.
- Scoop and serve with leftover lemon curd, sprinkles, or sliced strawberries, if desired.
- To store, cover baking dish tightly or transfer scoops of ice cream into a chilled, lidded container.